Slide Masters are the foundation for how a PowerPoint presentation looks and behaves, they are primarily used to apply and protect branding across a presentation.
They control shared elements like fonts, colors, backgrounds, logos, and the default placement of text and content. When you create a new slide, PowerPoint applies these settings automatically based on the Slide Master and layout in use, which helps keep the entire presentation consistent.
Making changes to a Slide Master will propagate all changes to already created slides in your presentation which uses that specific layout as a base.
Slide Masters are embedded in the presentation file. This means you don’t need to manage them separately, they’re always included when you save or share the file.
Unlike templates or external assets, Slide Masters are not separate files, they’re built directly into your presentation.
Adjusting the Slide Master


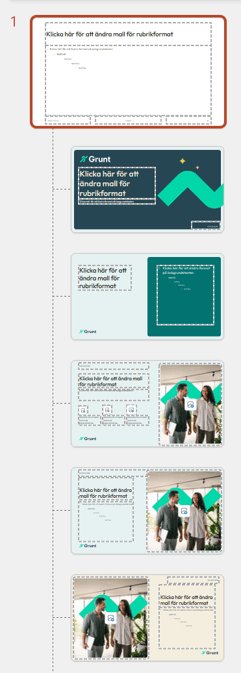
When opening the Slide Master-view, you will see the Slide Master itself at the top, denoted by a "1". Each slide master can have its own theme, layouts, and branding. This is mainly useful in advanced scenarios, such as when a presentation needs multiple visual styles (for example, one for internal slides and one for external use).
In most branded templates, users typically work within the existing Slide Master and do not need to add a new one.
Customizing Slide Layouts
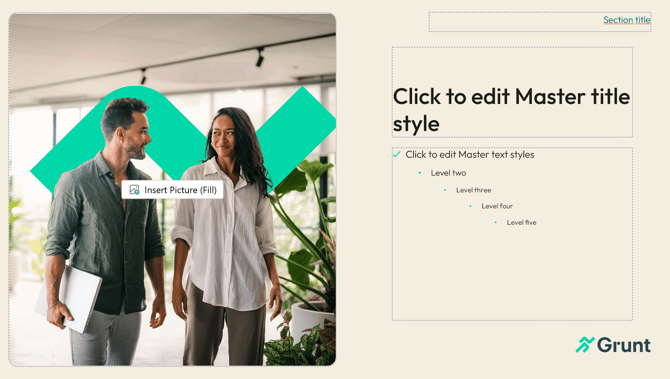
Slide layouts are the types of slides you can choose when inserting a new one, like "title and content", "content with caption" etc. Opening the Slider Master view will give you an overview of all the different slide layouts you have available in a Slide Master on the left side of the screen.
These can all be customized with their own look and feel, fonts, placements of placeholder-boxes and images.
You can insert a new slide layout by using the "Insert Layout" button at in the ribbon at the top.
Inserting Placeholders
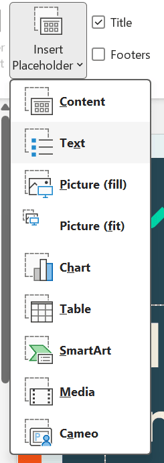
Use the Insert Placeholder button to add predefined content areas to the slide layout you’re currently editing.
These placeholder areas define what type of content belongs in each part of the layout. For example, if you want a layout to always include a picture area for the user to replace, or a dedicated text box, you can quickly add these using placeholders.
Background Styles
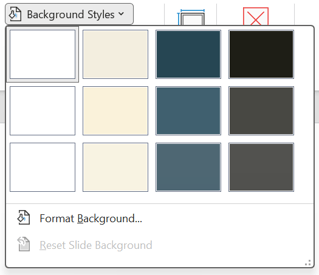
Background Styles defines background fills, such as solid colors or subtle variations, for slides. These styles are tied to the theme and can be applied consistently across layouts. Backgrounds set here help maintain visual balance and brand consistency.
Creating theme colors
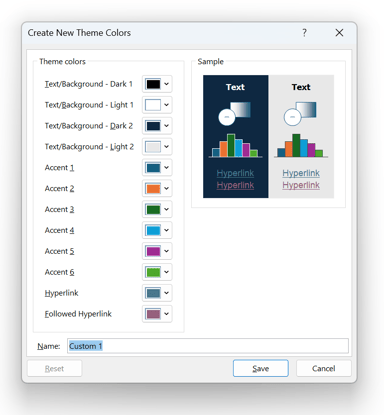
Theme colors lets you choose text colors, but also up to 6 accent colors.
These accent colors are usually chosen from brand guidelines for the company and are applied to graphics and slides you use in the presentation.
With Grunt, these accent colors are used to automatically make your charts and graphs fit right into your company profile without complicated formatting.
Changing what fonts are used
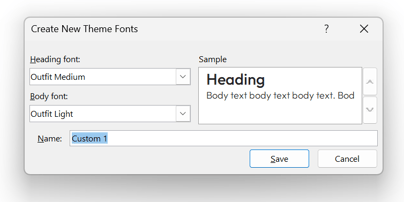
To change the font across your entire presentation, use the Fonts setting in the Slide Master view. This applies a consistent font update to all slides that use that master.