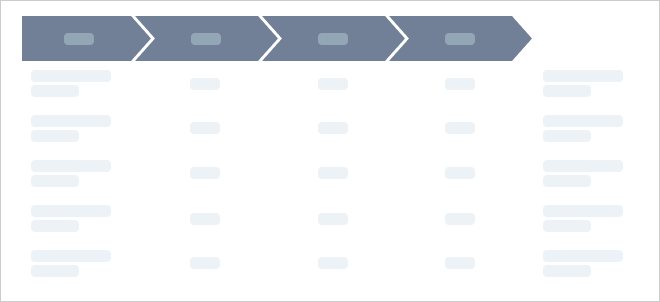
Create process steps or illustrate timelines with chevrons.
This rule is often used to style headers. It encapsulates the content of the cell within a chevron shape. This is a great way to visualize flow, e.g., when illustrating the steps in a process or a timeline.
Properties

Style
In this section. you can define the fill color of your chevrons. You can also add an outline and determine its color. To remove outlines, set the outline property to "0".
Appearance
This section lets you change the look and feel of your chevrons. If you update the skew, you will change the angle of the arrows of the chevrons.
You also have the option to specify that the first chevron in a group should have a flat edge on the left side. Additionally, you can change the direction of the chevrons. You can set them to flow from left to right, right to left, top to bottom, or bottom to top, allowing for versatile design options that fit your specific presentation needs.
Note:
The flat edge will appear for all chevron items that don't have another chevron item immediately preceding it. This means that if you have a gap in your chevrons, the first chevron after the gap will also have a flat edge.
Size
This lets you update the width and/or height of your chevrons. For more on the different sizing modes, see the article on the size rule.
Margin
Specify the margins for the chevrons. To learn more about using margins, check out our article on the Margin rule.